
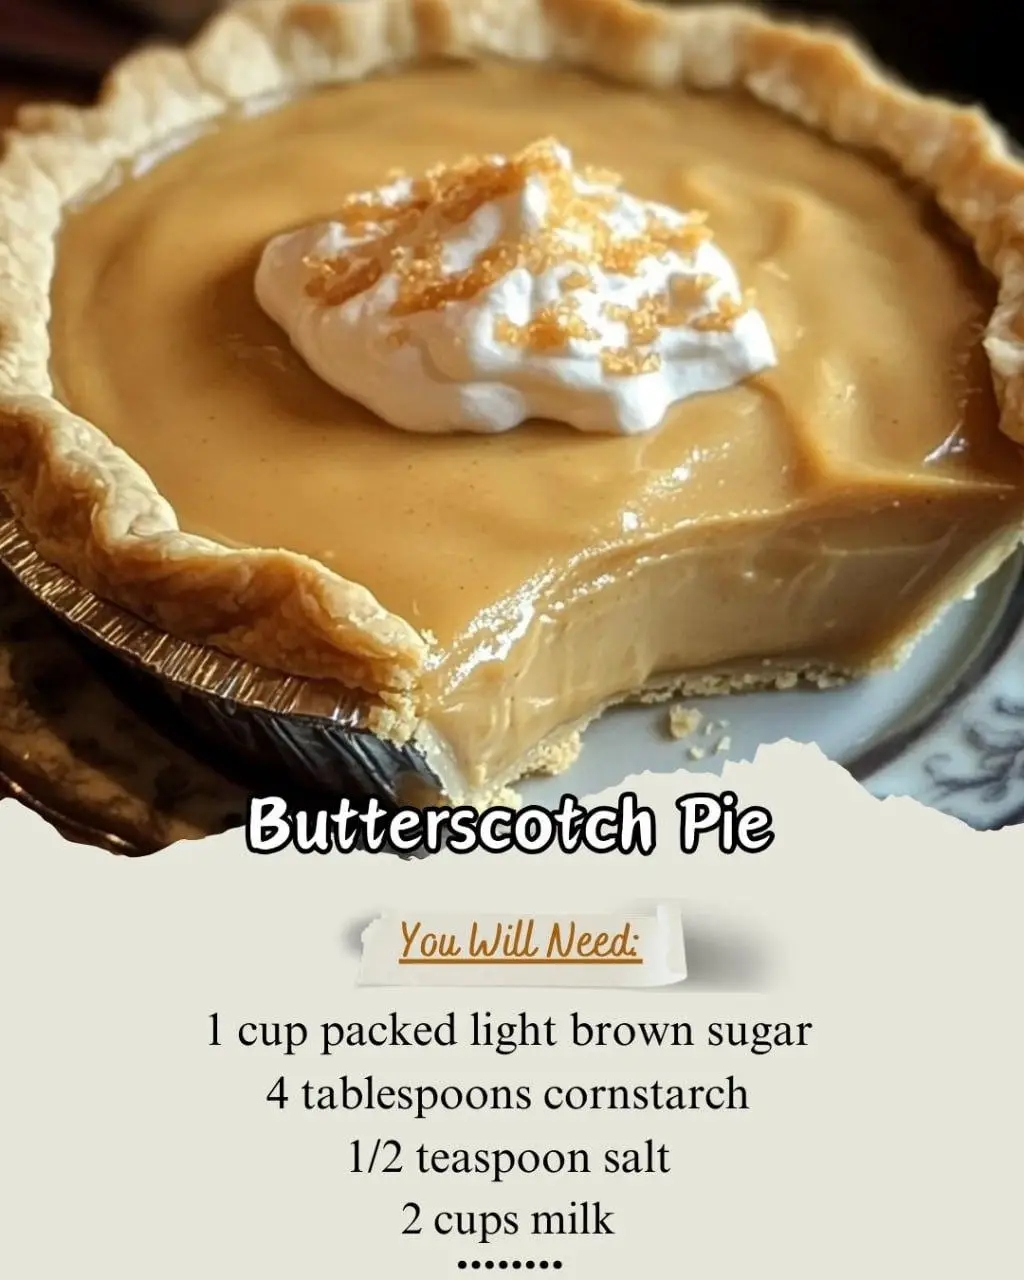
Butterscotch Pie: A Silky Slice of Vintage Comfort
Creamy, caramelized filling nestled in a flaky crust—this old-fashioned butterscotch pie is pure indulgence
Introduction: A Pie That Tastes Like Memory
There’s something timeless about butterscotch. It’s warm, rich, and deeply comforting—like the flavor of a cozy afternoon or a handwritten recipe passed down through generations. This Butterscotch Pie is a classic dessert that brings all those feelings to life in one silky, golden slice.
Made with simple pantry staples and a baked pie crust, this pie is easy to prepare but tastes like something special. The filling is cooked slowly in a double boiler until thick and luscious, then poured into a flaky shell and baked just long enough to set and caramelize the top. It’s perfect for holidays, potlucks, or anytime you want a dessert that feels like a hug.
Ingredients Breakdown
Let’s take a closer look at what makes this pie so rich and satisfying:
Filling:
- Light brown sugar (1 cup, packed)
Adds sweetness and that signature butterscotch flavor from molasses. - Cornstarch (4 tbsp)
Thickens the filling to a smooth, pudding-like consistency. - Salt (½ tsp)
Balances the sweetness and enhances the caramel notes. - Milk (2 cups)
Provides the creamy base—whole milk works best for richness. - Egg yolks (2, beaten)
Add richness and help thicken the filling. - Butter (1 tbsp)
Adds silkiness and depth. - Vanilla extract (1 tsp)
Rounds out the flavor and adds warmth.
Crust:
- 9-inch pie crust, baked
Use homemade or store-bought—just make sure it’s fully baked and cooled before filling.
Tip: Blind bake your crust with pie weights to prevent puffing.
Equipment Needed
- Double boiler or heatproof bowl over saucepan
- Whisk and spatula
- Measuring cups and spoons
- 9-inch pie pan
- Oven and stovetop
- Cooling rack
Optional: Use a mesh strainer to ensure a silky filling.
Step-by-Step Instructions
Step 1: Prepare the Double Boiler
Fill the bottom of a double boiler with water and bring to a gentle simmer.
Place the top bowl over the simmering water.
Tip: If you don’t have a double boiler, use a heatproof bowl over a saucepan—just make sure the bottom doesn’t touch the water.
Step 2: Cook the Base
In the top of the double boiler:
- Combine brown sugar, cornstarch, salt, and milk.
Whisk constantly over medium heat until the mixture begins to thicken—about 20 minutes.
Tip: Stir gently but consistently to prevent lumps and scorching
Step 3: Add Egg Yolks
Once the mixture starts to thicken:
- Whisk in the beaten egg yolks slowly, stirring constantly.
Continue cooking and stirring until the filling is thick and glossy.
Optional: Strain the mixture through a mesh sieve for extra smoothness.
Step 4: Finish the Filling
Remove the filling from heat.
Stir in butter and vanilla extract until fully melted and incorporated.
Let cool slightly.
Step 5: Fill and Bake
Preheat oven to 400°F (200°C).
Pour the warm filling into the baked pie crust.
Bake for 5–7 minutes, or until the top begins to brown slightly and the filling is set.
Tip: Watch closely—this step is quick and adds a beautiful finish.
Step 6: Cool and Serve
Let the pie cool at room temperature for at least 1 hour, then refrigerate until fully chilled.
Serve with:
- Whipped cream
- A sprinkle of sea salt
- Shaved chocolate or toasted pecans
Presentation Tip: Garnish with a drizzle of caramel sauce for extra flair.
Serving Suggestions
Perfect for:
- Holiday dinners
- Sunday suppers
- Potluck tables
- Vintage dessert trays
Pair with:
- Coffee or espresso
- Vanilla ice cream
- Spiced chai
- Bourbon or dessert wine
Yields:
- 8 slices
Tip: Slice with a warm knife for clean edges.
Variations to Try
Want to make it your own? Try these delicious twists:
Salted Butterscotch
Add a pinch of flaky sea salt on top before serving.
Chocolate Swirl
Stir in melted chocolate or drizzle over the top.
Coconut Butterscotch
Add shredded coconut to the filling or crust.
Vegan Version
Use plant-based milk, butter, and egg substitute.
Mini Pies
Bake in tart shells or ramekins for individual servings.
Storage and Make-Ahead Tips
- Make-Ahead: Prepare filling and crust up to 1 day in advance. Assemble and bake just before serving.
- Refrigerate: Store pie in airtight container for up to 4 days.
- Freeze: Freeze baked pie (without toppings) for up to 1 month. Thaw overnight in fridge.
Tip: Cover loosely with foil to prevent condensation.
Nutrition Notes (Per Slice, ~1 of 8)
- Calories: ~280
- Protein: ~4g
- Carbohydrates: ~35g
- Fat: ~12g
- Sugar: ~24g
- Sodium: ~180mg
- Fiber: ~0.5g
This pie is:
- Creamy and rich
- Sweet and nostalgic
- Easy to make
- Perfect for sharing
Final Thoughts
This Butterscotch Pie is more than just dessert—it’s a slice of vintage comfort that brings warmth to any table. Whether you’re baking for a holiday, a special occasion, or just because, it’s guaranteed to impress with its silky texture and deep caramel flavor.