
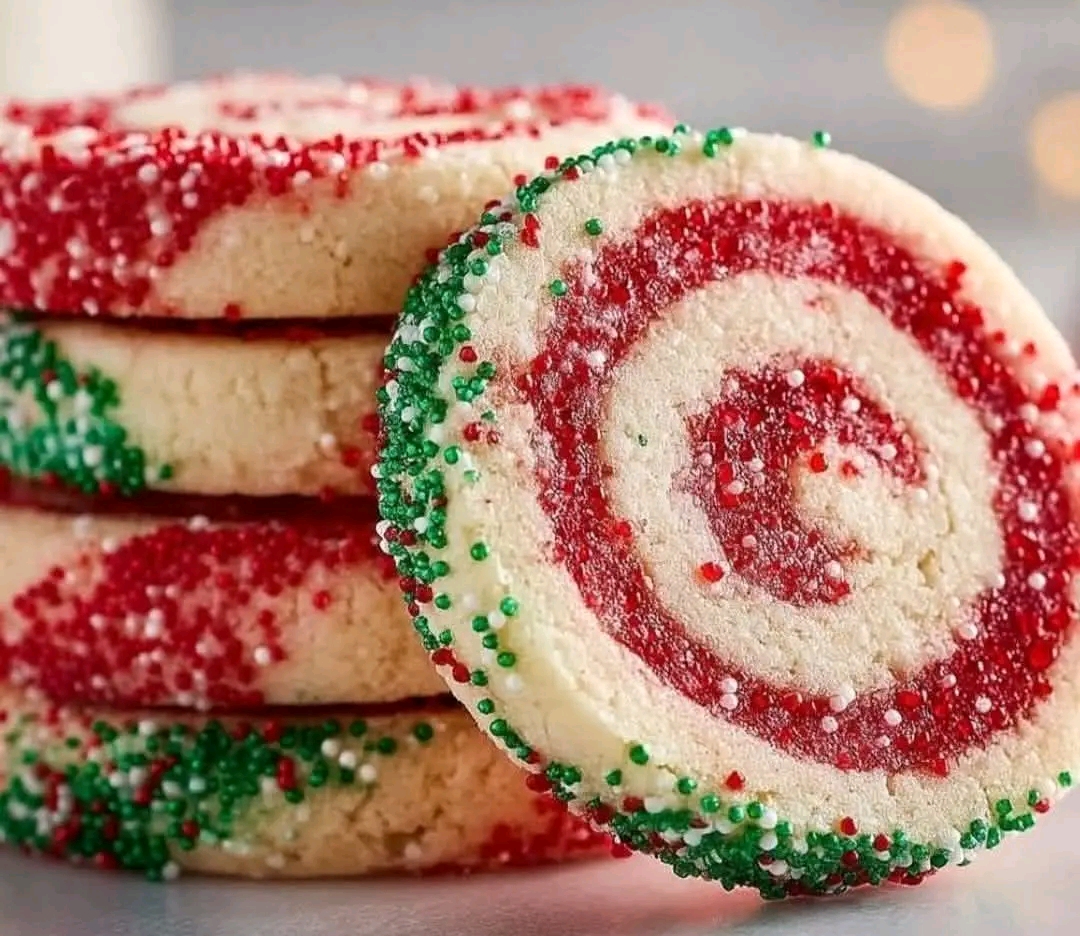
Christmas Pinwheel Cookies: A Festive Treat That Twirls with Joy
There’s something undeniably magical about holiday baking. The scent of sugar and butter wafting through the kitchen, the sparkle of red and green decorations, and the joy of creating something beautiful and delicious to share with loved ones. These Christmas Pinwheel Cookies are a whimsical, eye-catching addition to any holiday cookie tray. With their vibrant red swirls and buttery vanilla flavor, they’re as fun to make as they are to eat.
Whether you’re baking with kids, prepping for a cookie exchange, or simply want to add a little extra cheer to your dessert table, these cookies are a festive favorite that never fail to impress.
Ingredients
- 1¼ cups granulated sugar
Adds sweetness and helps create a tender crumb. - 1 cup salted butter, softened
Provides richness and structure. Salted butter adds a subtle savory balance. - 1½ teaspoons vanilla extract
Infuses the dough with warm, comforting flavor. - 1 large egg
Binds the dough and adds moisture. - 3 cups all-purpose flour
The base of the dough, giving it shape and texture. - ½ teaspoon baking powder
Adds a slight lift and softness. - ½ teaspoon red liquid food coloring
Creates the signature swirl of holiday red.
Instructions
- Cream the Base
In the bowl of a stand mixer fitted with the paddle attachment, combine the sugar, softened butter, and vanilla extract. Beat on medium speed for about 2 minutes, until the mixture is light and creamy. - Add the Egg
Scrape down the sides of the bowl with a rubber spatula. Add the egg and mix until fully incorporated. - Mix in Dry Ingredients
Add the flour and baking powder. Mix on low speed until the dough comes together and no streaks of flour remain. - Divide and Color
Scrape down the bowl again. Divide the dough in half. Remove one half and place it on a piece of parchment paper. To the remaining dough in the mixer, add the red food coloring and mix on low until the color is evenly distributed. - Chill the Dough
Divide both the red and plain dough in half again, creating four pieces total—two red and two plain. Shape each into a rectangle, wrap in plastic wrap, and refrigerate for 30 minutes. - Roll and Stack
After chilling, roll each piece of dough between parchment paper into an 11×7-inch rectangle. Trim the edges for clean lines. Stack one red piece on top of a plain piece, and vice versa for the other set. - Roll into Logs
Carefully roll each stacked rectangle into a tight log, starting from the long edge. Wrap each log in plastic wrap and refrigerate for 1–2 hours, or overnight for best results. - Slice and Bake
Preheat your oven to 350°F (175°C). Line a baking sheet with parchment paper. Slice each log into ¼ to ½-inch thick cookies. Place cookies 1 inch apart on the baking sheet. - Bake and Cool
Bake for 9–11 minutes, or until the edges are just beginning to turn golden. Avoid overbaking to keep them soft. Let cookies cool on the baking sheet for 2–3 minutes, then transfer to a wire rack to cool completely.
Tips for Success
- Chill thoroughly: Cold dough is easier to slice and helps maintain the pinwheel shape.
- Use gel food coloring for more vibrant red without adding too much liquid.
- Add sparkle: Roll the logs in sanding sugar before slicing for a glittery edge.
- Flavor twist: Add peppermint extract or almond extract for a festive variation.
Serving & Storage
These cookies are perfect for gifting, cookie swaps, or holiday dessert platters. Store in an airtight container at room temperature for up to 5 days, or freeze for up to 2 months.
Time & Yield
- Prep Time: 30 minutes
- Chill Time: 1.5 to 2.5 hours
- Bake Time: 10 minutes per batch
- Total Time: ~3 hours
- Yield: About 36 cookies
These Christmas Pinwheel Cookies are more than just a treat—they’re a celebration of the season. With their cheerful swirls and buttery flavor, they bring joy to every bite. Whether you’re baking for tradition or starting a new one, these cookies are sure to become a holiday favorite.