
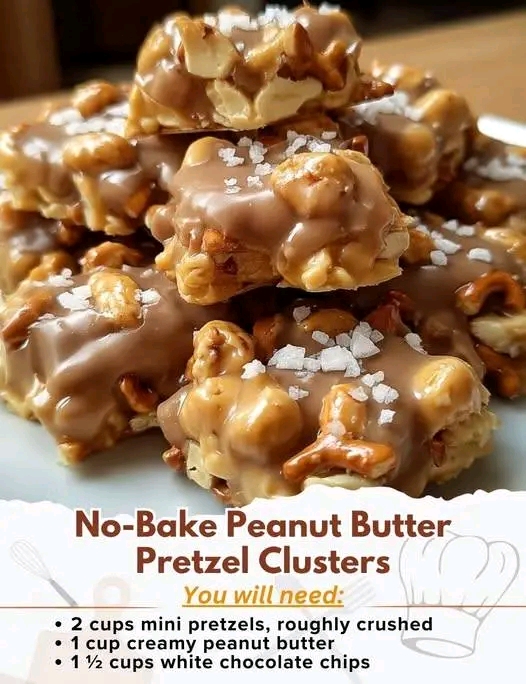
No-Bake Peanut Butter Pretzel Clusters
Looking for a quick, crowd-pleasing treat that hits the perfect balance between salty and sweet? These No-Bake Peanut Butter Pretzel Clusters are your new go-to snack. With just a handful of pantry staples and zero oven time, you can whip up a batch of these irresistible clusters in under 30 minutes. Whether you’re prepping for a party, packing lunchbox treats, or just craving a cozy night-in snack, these clusters deliver big flavor with minimal effort.
Why You’ll Love This Recipe
- Quick & Easy: No baking required — just melt, mix, and chill.
- Sweet & Salty Combo: Creamy peanut butter and crunchy pretzels are a match made in snack heaven.
- Customizable: Use white, dark, or semi-sweet chocolate chips to suit your taste.
- Gluten-Free Friendly: Just swap in gluten-free pretzels.
- Perfect for Any Occasion: Great for holidays, potlucks, or a simple weeknight treat.
Ingredients
Here’s everything you’ll need to make about 20–24 clusters:
- 2 cups mini pretzels, roughly crushed (don’t pulverize — you want texture!)
- 1 cup creamy peanut butter (natural or processed both work)
- 1 ½ cups white chocolate chips (or substitute with semi-sweet or dark chocolate)
- 1 tablespoon coconut oil or butter (optional, helps with smoother melting)
- ½ cup chopped peanuts (optional, adds extra crunch and nutty flavor)
Instructions
Step 1: Prep Your Workspace
Line a baking sheet with parchment paper or a silicone mat. This will prevent sticking and make cleanup a breeze.
Step 2: Crush the Pretzels
Place the mini pretzels in a zip-top bag and gently crush them using a rolling pin or the bottom of a glass. Aim for bite-sized pieces — not crumbs.
Step 3: Melt the Chocolate and Peanut Butter
In a microwave-safe bowl, combine the white chocolate chips, peanut butter, and coconut oil (if using). Microwave in 30-second intervals, stirring between each, until the mixture is smooth and fully melted. This usually takes about 1½ to 2 minutes total.
Tip: You can also melt the mixture on the stovetop using a double boiler for more control.
Step 4: Mix in the Crunch
Add the crushed pretzels and chopped peanuts into the melted mixture. Stir until everything is evenly coated.
Step 5: Scoop and Shape
Using a spoon or small cookie scoop, drop heaping tablespoons of the mixture onto your prepared baking sheet. Gently shape them into clusters if needed.
Step 6: Chill to Set
Place the baking sheet in the refrigerator for at least 30 minutes, or until the clusters are firm and set.
Step 7: Serve and Enjoy!
Once set, transfer the clusters to an airtight container. Store in the fridge for up to 1 week — if they last that long!
Variations & Add-Ins
Want to make this recipe your own? Try these fun twists:
- Chocolate Lovers: Use dark chocolate chips and drizzle with melted white chocolate for contrast.
- Tropical Vibes: Add shredded coconut for a chewy texture.
- Fruity Crunch: Mix in dried cranberries or chopped dried cherries.
- Extra Salty: Sprinkle a pinch of flaky sea salt on top before chilling.
Tips for Success
- Don’t overheat the chocolate: It can seize and become grainy. Stir frequently and melt gently.
- Use parchment paper: This makes removing the clusters super easy.
- Let them chill fully: Rushing the chill time can lead to messy clusters that don’t hold their shape.
Frequently Asked Questions
Can I use natural peanut butter?
Yes, but make sure it’s well-stirred and not too runny. The consistency affects how well the clusters hold together.
Can I freeze these clusters?
Absolutely! Freeze in a single layer, then transfer to a freezer-safe bag. They’ll keep for up to 2 months.
Are these gluten-free?
They can be! Just use certified gluten-free pretzels.
Final Thoughts
These No-Bake Peanut Butter Pretzel Clusters are proof that you don’t need fancy ingredients or hours in the kitchen to make something truly delicious. They’re crunchy, creamy, sweet, salty — and totally addictive. Whether you’re making them for a holiday cookie tray or just a Tuesday night treat, they’re bound to become a favorite in your recipe rotation