
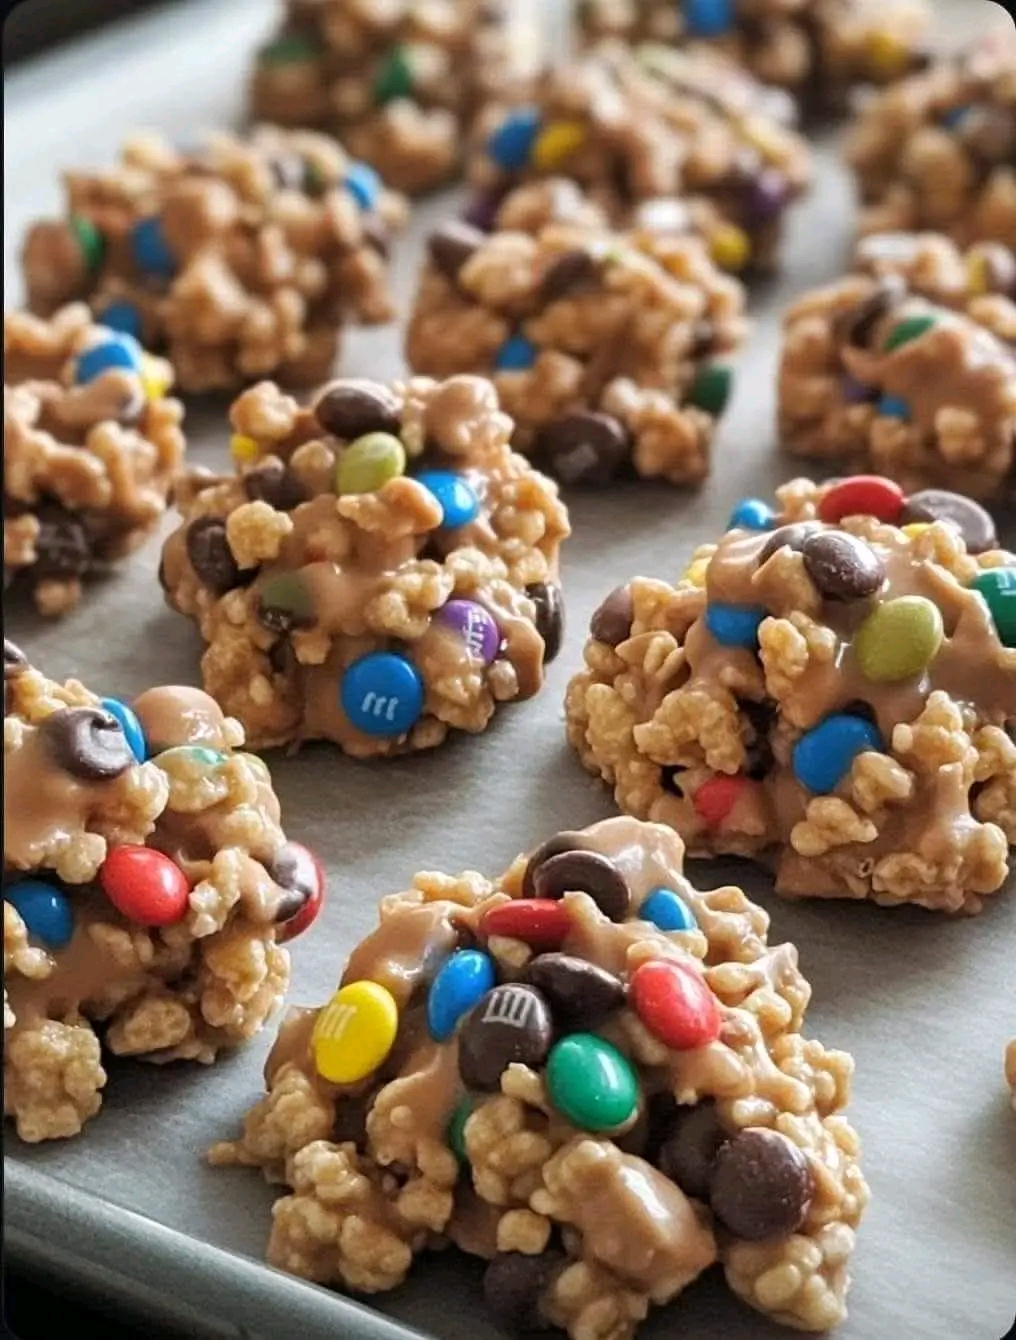
Peanut Butter Rice Krispie Treats with M&M’s and Chocolate Chips
A chewy, crunchy, no-bake treat packed with peanut butter, crispy cereal, and bursts of chocolate—perfect for parties, lunchboxes, or sweet cravings
Introduction: A Classic Treat with a Colorful Twist
These Peanut Butter Rice Krispie Treats are a playful spin on the classic marshmallow version. Instead of marshmallows, they’re held together with a warm, gooey blend of peanut butter, sugar, and corn syrup (or honey). The result? A chewy, nutty base that’s studded with mini chocolate chips and M&M’s for a pop of color and crunch.
Whether you’re making them for a bake sale, a birthday party, or just a cozy afternoon snack, these treats are quick to whip up and guaranteed to disappear fast.
Ingredients Breakdown
Let’s explore what makes these treats so irresistible:
Base Mixture:
- Peanut butter (1 cup)
Adds creaminess, flavor, and helps bind the treats. - Light corn syrup or honey (1 cup)
Sweetens and adds chewiness—honey gives a more natural flavor. - Sugar (1 cup)
Adds structure and sweetness.
Tip: Use smooth peanut butter for best texture, or crunchy for added bite.
Crunch:
- Rice Krispies cereal (5–6 cups)
Adds light, crispy texture and classic snap.
Optional: Use cocoa-flavored cereal for a chocolatey twist.
Add-Ins:
- Mini chocolate chips (½ cup)
Adds melty pockets of chocolate. - M&M’s (½ cup or more)
Adds color, crunch, and fun.
Optional: Use seasonal M&M’s for holidays or swap in Reese’s Pieces.
Step-by-Step Instructions
Step 1: Make the Peanut Butter Mixture
In a medium saucepan:
- Combine peanut butter, corn syrup (or honey), and sugar.
Heat over medium, stirring constantly.
Once it just starts to bubble, remove from heat.
Tip: Don’t let it boil—this keeps the texture soft and chewy.
Step 2: Mix with Cereal
In a large bowl:
- Add Rice Krispies cereal.
Pour warm peanut butter mixture over the cereal.
Stir until evenly coated.
Optional: Add a pinch of salt or vanilla extract for extra flavor.
Step 3: Shape the Treats
Scoop mixture onto a parchment-lined baking sheet.
Press into clusters, bars, or spread evenly for slicing.
Tip: Use a spatula or lightly greased hands to shape.
Step 4: Add Toppings
While still warm:
- Sprinkle with mini chocolate chips and M&M’s.
Press gently to help them stick.
Optional: Drizzle with melted chocolate or peanut butter for extra flair.
Step 5: Cool and Serve
Let treats cool at room temperature until firm (about 30–45 minutes).
Cut into squares or break into clusters.
Serve and enjoy!
Presentation Tip: Stack on a colorful platter or wrap individually for gifting.
Serving Suggestions
Perfect for:
- Bake sales
- Birthday parties
- Movie nights
- Lunchbox treats
Pair with:
- Cold milk
- Hot cocoa
- Peanut butter smoothie
Tip: Serve with a side of fruit for a balanced snack.
Variations to Try
Want to make them your own? Try these delicious twists:
Banana Chip Treats
Add dried banana chips and swap honey for a tropical vibe.
Coconut Crunch
Add shredded coconut and white chocolate chips.
Vegan Version
Use maple syrup and dairy-free chocolate chips.
Berry Burst
Add freeze-dried strawberries or raspberries.
Mini Muffin Treats
Press into mini muffin tins for bite-sized portions.
Storage and Make-Ahead Tips
- Make-Ahead: Prepare up to 2 days in advance.
- Refrigerate: Store in airtight container for up to 1 week.
- Freeze: Freeze for up to 2 months. Thaw at room temperature.
Tip: Layer with parchment paper to prevent sticking.
Nutrition Notes (Per Treat, ~1 of 20)
- Calories: ~140
- Protein: ~3g
- Carbohydrates: ~18g
- Fat: ~7g
- Sugar: ~12g
- Sodium: ~80mg
- Fiber: ~1g
These treats are:
- No-bake
- Kid-approved
- Gluten-free (if using certified cereal)
- Perfect for sharing
Final Thoughts
These Peanut Butter Rice Krispie Treats with M&M’s and Chocolate Chips are more than just a snack—they’re a celebration of flavor, texture, and fun. Whether you’re making them for a crowd or sneaking one for yourself, they’re guaranteed to bring smiles.