
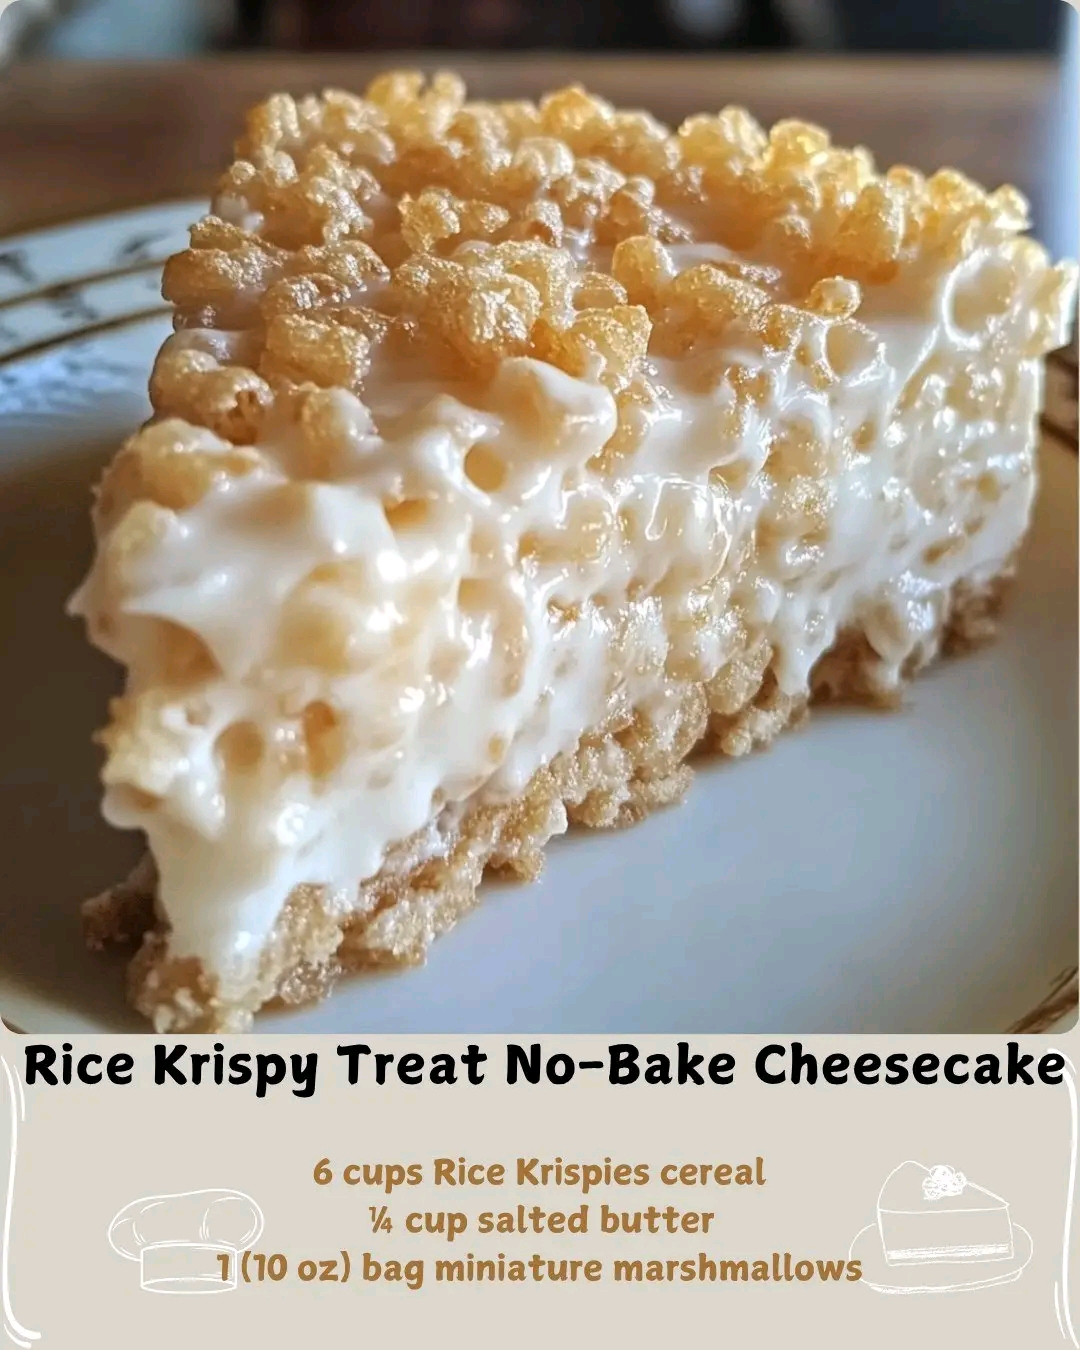
Rice Krispy Treat No-Bake Cheesecake: Crunchy, Creamy, and Playfully Irresistible
A buttery Rice Krispies crust filled with fluffy marshmallow cheesecake and topped with whipped cream and treats
Introduction: A No-Bake Dessert That Delivers Joy
If you’re looking for a dessert that’s fun, easy, and guaranteed to impress, this Rice Krispy Treat No-Bake Cheesecake is your answer. It’s a delightful mashup of two childhood favorites—Rice Krispy Treats and marshmallow fluff—elevated into a creamy, dreamy cheesecake that requires zero oven time.
Perfect for birthdays, potlucks, or just a weekend treat, this recipe combines a crunchy cereal crust with a light and fluffy filling made from cream cheese, marshmallow crème, and Cool Whip. It’s playful, nostalgic, and surprisingly elegant when sliced and served.
Ingredients Breakdown
Let’s take a closer look at what makes this cheesecake so magical:
For the Crust:
- Rice Krispies cereal (6 cups)
Light, crispy, and perfect for forming a sturdy base. - Salted butter (¼ cup)
Adds richness and helps bind the crust—salted enhances flavor. - Miniature marshmallows (1 bag, 10 oz)
Melted with butter to create the classic treat texture.
Tip: Use fresh marshmallows for best melting and consistency.
For the Filling:
- Cream cheese (8 oz, softened)
Adds tangy richness and creamy texture—use full-fat for best results. - Granulated sugar (½ cup)
Sweetens the filling and balances the tang of the cream cheese. - Vanilla extract (1 tsp)
Adds warmth and depth. - Marshmallow crème (7 oz jar)
Adds sweetness and fluff—brands like Fluff work perfectly. - Cool Whip (8 oz tub, thawed)
Adds lightness and volume—folded in gently to preserve texture.
Optional: Add lemon zest or almond extract for a flavor twist.
For Garnish (Optional):
- Whipped cream
Adds a decorative and creamy finish—pipe or dollop around the edges. - Cubed Rice Krispy Treats
Adds crunch and visual appeal—store-bought or homemade.
Presentation Tip: Sprinkle with rainbow sprinkles or drizzle with chocolate sauce for extra flair.
Step-by-Step Instructions
Step 1: Prep the Pan
Generously grease a 9- or 10-inch springform pan with nonstick spray.
Set aside.
Tip: Line the bottom with parchment paper for easier release.
Step 2: Make the Crust
In a large bowl:
- Add Rice Krispies cereal.
In a medium saucepan over low heat:
- Melt butter and marshmallows together, stirring constantly until smooth.
Immediately pour the melted mixture over the cereal.
Stir quickly until evenly coated.
Tip: Work fast—marshmallow mixture sets quickly.
Step 3: Form the Crust
Transfer sticky cereal mixture into the prepared pan.
Using a greased glass or spatula:
- Press firmly into the bottom and slightly up the sides to form a crust.
Let set at room temperature for 15–20 minutes.
Optional: Chill for 10 minutes to speed up setting.
Step 4: Prepare the Filling
In a stand mixer or large bowl:
- Beat softened cream cheese, sugar, and vanilla until smooth and creamy (about 1 minute).
Add marshmallow crème and mix until fully incorporated.
Using a spatula:
- Gently fold in thawed Cool Whip by hand to preserve its airy texture.
Tip: Don’t overmix—keep the filling light and fluffy.
Step 5: Assemble the Cheesecake
Pour filling into the set crust.
Smooth the top with an offset spatula or back of a spoon.
Tap gently to release air bubbles.
Optional: Chill for 10 minutes before garnishing.
Step 6: Chill
Refrigerate for at least 2 hours, or until filling is firm and holds its shape when sliced.
Tip: Overnight chilling yields best texture and flavor.
Step 7: Garnish & Serve
Before serving:
- Pipe or dollop whipped cream around the edge.
- Top with cubed Rice Krispy Treats for a playful finish.
Carefully release springform collar.
Slice with a warm knife for clean cuts.
Presentation Tip: Serve on a cake stand with fresh berries or edible glitter for a party-ready look.
Serving Suggestions
Perfect for:
- Birthday parties
- Summer gatherings
- Bake sales
- Weekend treats
Pair with:
- Cold milk
- Strawberry lemonade
- Coffee or espresso
- Vanilla ice cream
Yields:
- About 10–12 slices
Tip: Cut smaller for bite-sized servings or larger for indulgent portions.
Variations to Try
Want to make it your own? Try these delicious twists:
Chocolate Krispy Crust
Use Cocoa Krispies instead of original.
Berry Swirl
Add strawberry jam or fresh berries to the filling.
Peanut Butter Twist
Add peanut butter to the marshmallow mixture or filling.
Vegan Version
Use plant-based butter, cream cheese, and whipped topping.
Lemon Cheesecake
Add lemon zest and juice to the filling for a citrusy kick.
Storage and Make-Ahead Tips
- Make-Ahead: Prepare up to 2 days in advance.
- Refrigerate: Store in airtight container for up to 5 days.
- Freeze: Freeze whole or sliced cheesecake for up to 1 month. Thaw in fridge before serving.
Tip: Store garnishes separately and add fresh before serving.
Nutrition Notes (Per Slice, ~1 of 12)
- Calories: ~280
- Protein: ~3g
- Carbohydrates: ~32g
- Fat: ~14g
- Sugar: ~22g
- Sodium: ~180mg
- Fiber: ~1g
This cheesecake is:
- No-bake
- Kid-friendly
- Whimsical and fun
- Perfect for sharing
Final Thoughts
This Rice Krispy Treat No-Bake Cheesecake is more than just dessert—it’s a celebration of texture, nostalgia, and creativity. Whether you’re serving it for a party or sneaking a slice from the fridge, it’s guaranteed to delight.