
Strawberry Cheesecake Cookies: Soft, Stuffed, and Bursting with Berry Bliss
A chewy strawberry cookie wrapped around a creamy cheesecake center—these cookies are a sweet surprise in every bite
Introduction: A Cookie That Feels Like Dessert
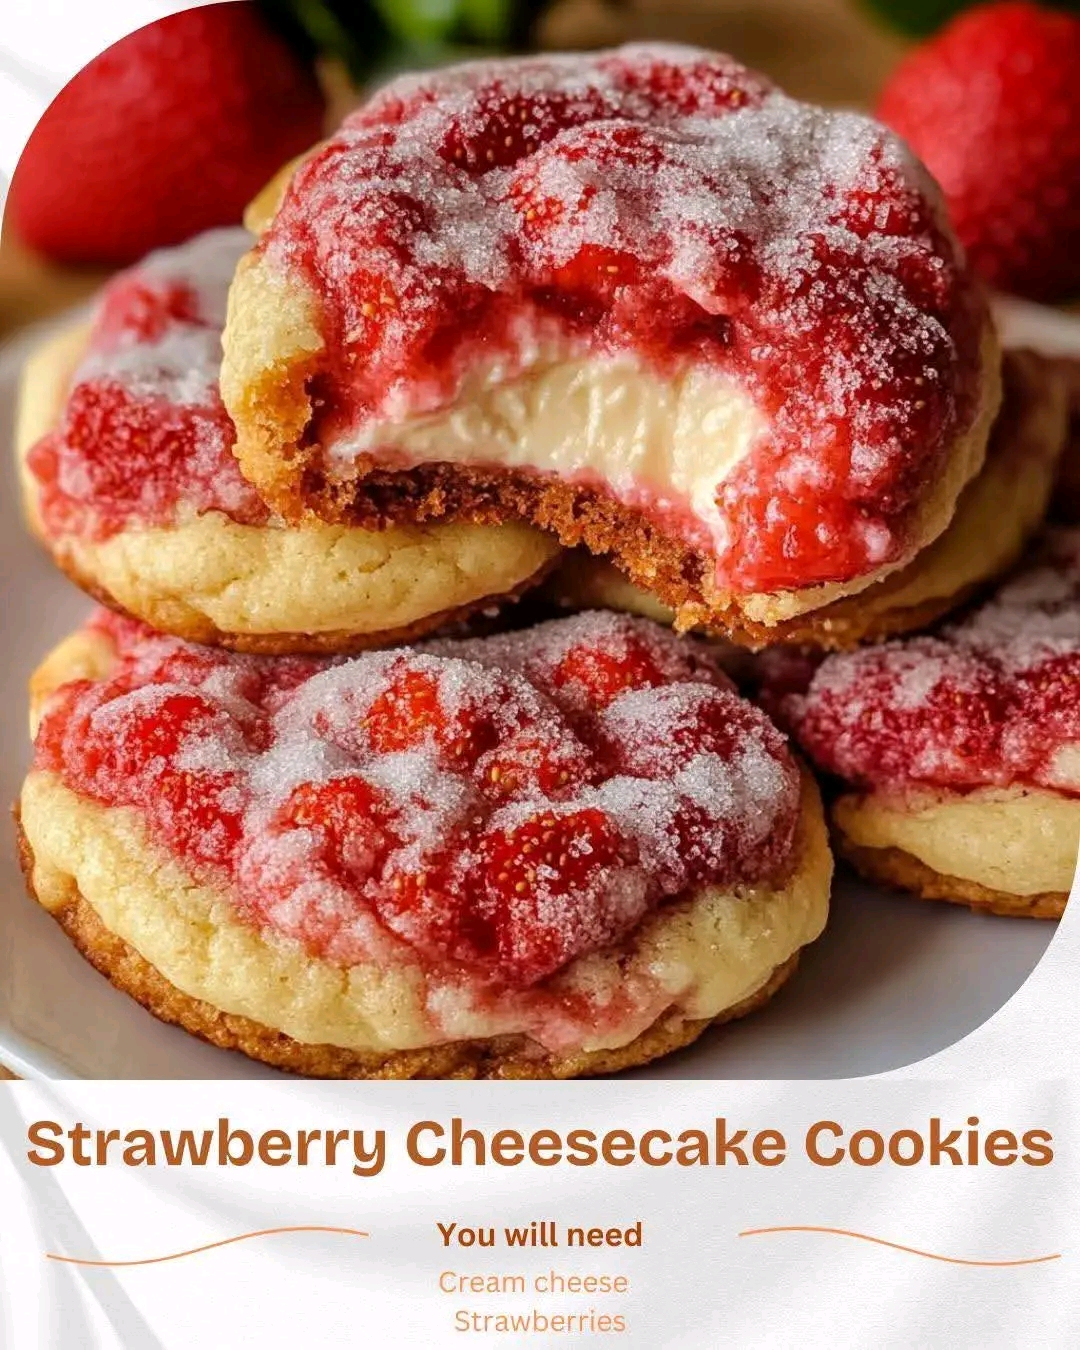
These Strawberry Cheesecake Cookies are more than just cookies—they’re a dessert experience. Made with strawberry cake mix and stuffed with a tangy cream cheese filling, they bake up soft, chewy, and perfectly pink. The creamy center adds a luscious contrast to the fruity cookie shell, making them ideal for parties, gifting, or just treating yourself.
Whether you’re baking for Valentine’s Day, spring brunch, or a cozy weekend, these cookies deliver flavor, texture, and visual charm.
Ingredients Breakdown
Let’s explore what makes these cookies so irresistible:
Cookie Dough:
- Strawberry cake mix (1 box, 15.25 oz)
Adds flavor, color, and convenience. - Vegetable oil (⅓ cup)
Keeps the cookies moist and chewy. - Eggs (2 large)
Bind the dough and add richness.
Optional: Add a few drops of pink food coloring for extra vibrancy.
Cheesecake Filling:
- Cream cheese (4 oz, softened)
Adds tang and creamy texture. - Powdered sugar (¼ cup)
Sweetens and smooths the filling. - Vanilla extract (½ tsp)
Adds warmth and depth.
Optional: Add lemon zest or strawberry jam for a flavor twist.
Step-by-Step Instructions
Step 1: Preheat Oven
Set oven to 350°F (175°C).
Line a baking sheet with parchment paper or silicone mat.
Tip: Use light-colored baking sheets for even browning.
Step 2: Prepare Cheesecake Filling
In a small bowl:
- Beat cream cheese, powdered sugar, and vanilla until smooth.
Scoop teaspoon-sized dollops onto a plate.
Freeze for 20–30 minutes to firm up.
Tip: Use a small cookie scoop for uniform portions.
Step 3: Make Cookie Dough
In a large bowl:
- Combine strawberry cake mix, vegetable oil, and eggs.
Stir until a thick dough forms.
Optional: Chill dough for 10 minutes for easier handling.
Step 4: Assemble Cookies
Scoop 1 tablespoon of dough and flatten slightly.
Place a frozen cheesecake dollop in the center.
Top with another tablespoon of dough and seal edges completely.
Repeat with remaining dough and filling.
Tip: Roll gently between palms to smooth the surface.
Step 5: Bake
Place cookies 2 inches apart on prepared baking sheet.
Bake for 9–11 minutes, until:
- Edges are set
- Centers are soft
Let cool on baking sheet for 5 minutes, then transfer to wire rack.
Optional: Dust with powdered sugar or drizzle with white chocolate.
Serving Suggestions
Perfect for:
- Valentine’s Day
- Baby showers
- Spring brunch
- Dessert trays
Pair with:
- Strawberry milk
- Vanilla latte
- Lemonade
Presentation Tip: Serve on a pastel platter with fresh strawberries.
Variations to Try
Want to make them your own? Try these delicious twists:
Chocolate Strawberry
Use chocolate cake mix and add mini chocolate chips.
Lemon Cheesecake
Use lemon cake mix and add lemon zest to the filling.
Vegan Version
Use plant-based cream cheese, egg substitute, and cake mix.
Cupcake Style
Bake in mini muffin tins for cookie cups.
Jam Swirl
Add a dab of strawberry jam to the cheesecake filling.
Storage and Make-Ahead Tips
- Make-Ahead: Prepare dough and filling up to 1 day in advance.
- Refrigerate: Store baked cookies in airtight container for up to 5 days.
- Freeze: Freeze unbaked cookie balls or baked cookies for up to 2 months.
Tip: Reheat in microwave for 10 seconds for gooey centers.
Nutrition Notes (Per Cookie, ~1 of 14)
- Calories: ~180
- Protein: ~2g
- Carbohydrates: ~20g
- Fat: ~10g
- Sugar: ~14g
- Sodium: ~150mg
- Fiber: ~0.5g
These cookies are:
- Kid-friendly
- Crowd-pleasing
- Comfort food approved
- Perfect for gifting
Final Thoughts
These Strawberry Cheesecake Cookies are more than just a sweet treat—they’re a celebration of flavor, texture, and creativity. Whether you’re baking for a special occasion or just because, they’re guaranteed to bring smiles.